Shiro简介
- Apache Shiro是Java的一个安全(权限)框架。
- Shiro 可以非常容易的开发出足够好的应用,其不仅可以用在JavaSE环境,也可以用在JavaEE的环境。
- Shiro可以完成:认证、授权、加密、会话管理、与Web集成、缓存等。
- Shiro 官网:https://shiro.apache.org/
功能简介
基本功能点如下图所示: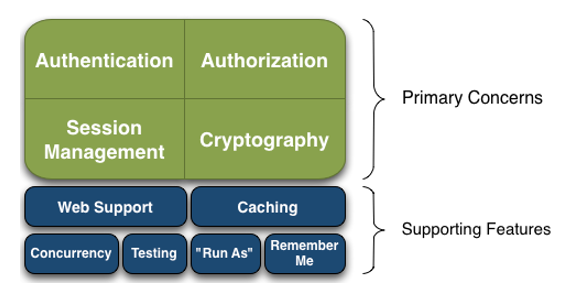
- Authentication - 身份认证/登录,验证用户是不是拥有相应的身份。
- Authorization - 授权,即权限验证,验证某个已认证的用户是否拥有某个权限;即判断用户是否能进行什么操作,如:验证某个用户是否拥有某个角色。或者细粒度的验证某个用户对某个资源是否具有某个权限。
- Session Management - 会话管理,即用户登录后就是一次会话,在没有退出之前,它的偶有信息都在会话中;会话可以是普通JavaSE环境,也可以是Web环境的。
- Cryptography - 加密,保护数据的安全性,如密码加密存储到数据库,而不是明文存储。
- Web Support - Web支持,可以非常容易的集成到Web环境。
- Concurrency - Shiro支持多线程应用的并发验证,即如在一个线程中开启另一个线程,能把权限自动传播过去。
- Testing - 提供测试支持。
- Caching - 缓存,比如用户登录后,其用户信息、拥有的角色/权限不必每次去查,这样可以提高效率。
- “Run As” - 允许一个用户假装为另一个用户(如果他们允许)的身份进行访问。
- Remember Me - 记住我,这个是非常常见的功能,即一次登录后,下次再来的话不用登录了。
Shiro架构(Shiro外部来看)
从外部来看Shiro,即从应用程序角度来观察如何使用Shiro完成工作: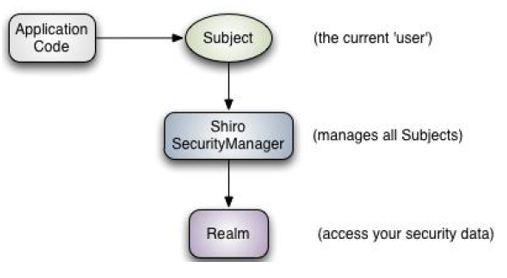
- Application Code - 实际上指的是我们的应用程序
- Subject - 应用程序去访问Shiro的话,一定是Subject,这个是表示当前用户,就是说你有没有登录,是不是可以去访问某一个权限,Subject可以理解为一个“门面”
- Security Manager - 就像一个大管家,管理着Shiro的各个组件,实际上Subject的背后就是这个Security Manager。
- Realm - 当我们需要访问一些安全数据的时候,比如说获取用户信息,获取权限信息我们需要用到Realm,它相当于是一个Security Dao
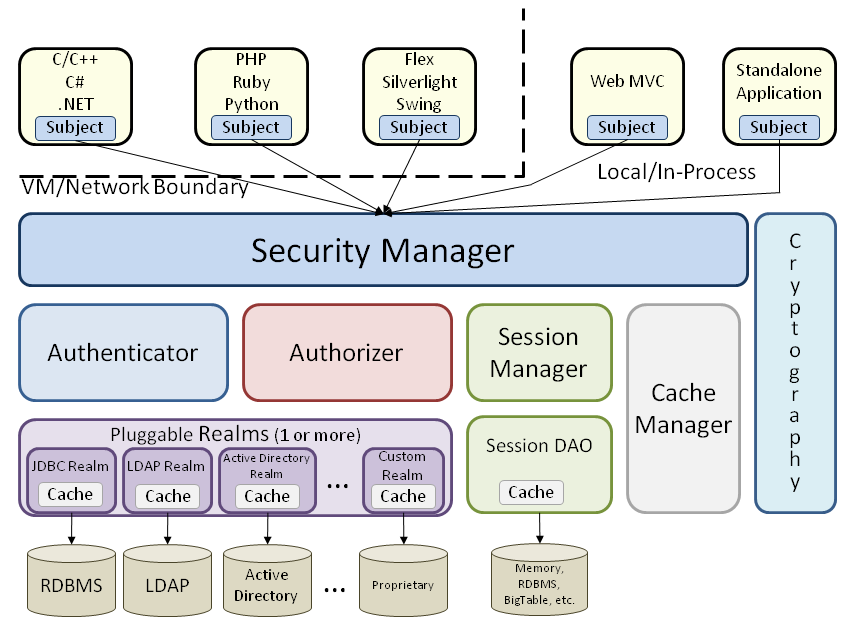
Shiro架构(Shiro内部来看)
HelloWorld
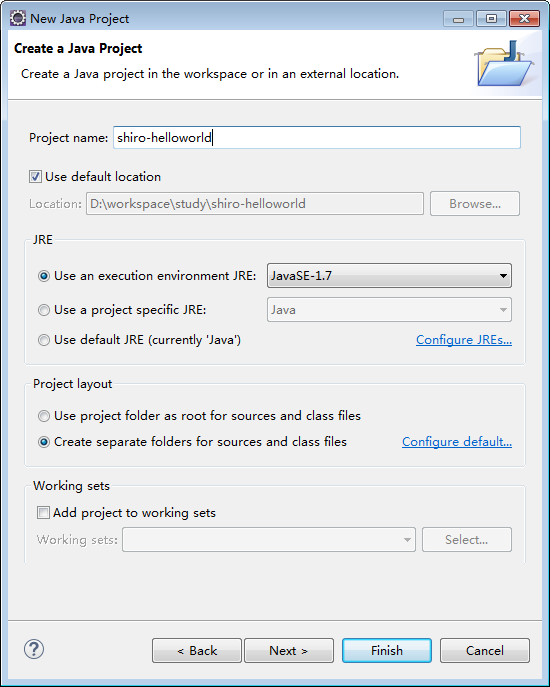
1.创建一个Java Project, 取名为 “shiro-helloworld”,
2.在工程里面新建一个lib的文件夹,将所需的shiro相关jar包拷贝过来

将jar包加入Build Path
3.看shiro给我们提供的HelloWorld
Shiro source code 下载地址为:https://shiro.apache.org/download.html#latestSource
我们到shrio source code 的 samples/quickstart 目录下面
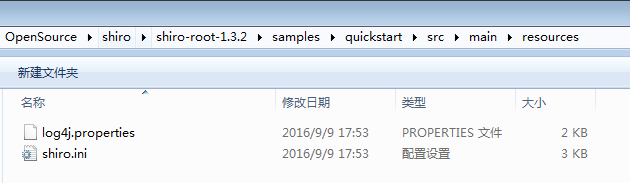
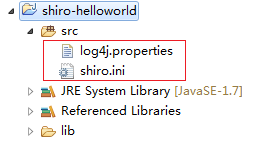
将这两个配置文件拷贝到我们的工程下面,
然后将Quickstart.java文件拷贝到项目中,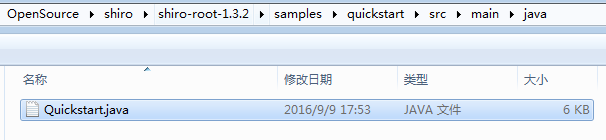
新建一个包 com.shiro.helloworld,将Quickstart.java文件拷入,拷入后,加入包的声明,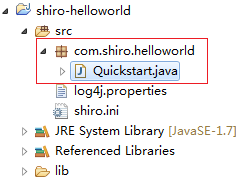
右键->Run As->Java Application,可以看到系统可以正常跑起来,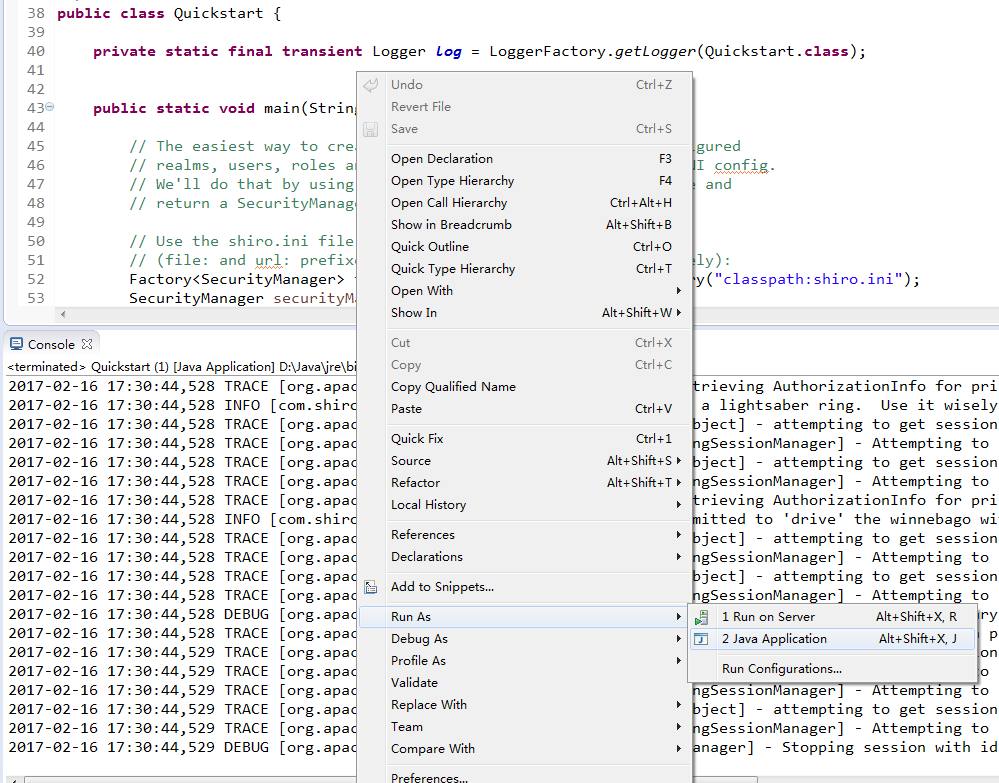
下面我们来解读一下这部分代码:
1 | // The easiest way to create a Shiro SecurityManager with configured |
这段代码是指以一种最简单的方式-通过shiro.ini配置文件的方式来获取SecurityManager的一个实例.
shiro.ini文件里面配置了用户,用户密码,用户所有的角色,权限,这里仅仅是HelloWorld应用,实际中相关信息需要从数据库中获取。
1 | // for this simple example quickstart, make the SecurityManager |
在这个简单的例子里,我们使SecurityManager在Java虚拟机里面变为单例模而且是可以访问的。
“Most applications wouldn’t do this”,大部分应用都不这样做,所以这段代码我们也不用太关心。
1 | // get the currently executing user: |
这段代码是获取当前的Subject
1 | // Do some stuff with a Session (no need for a web or EJB container!!!) |
测试使用Session,注意:即便是在没有Web的容器下也可以测试,在控制台输出中可以看出这个值是可以获取的,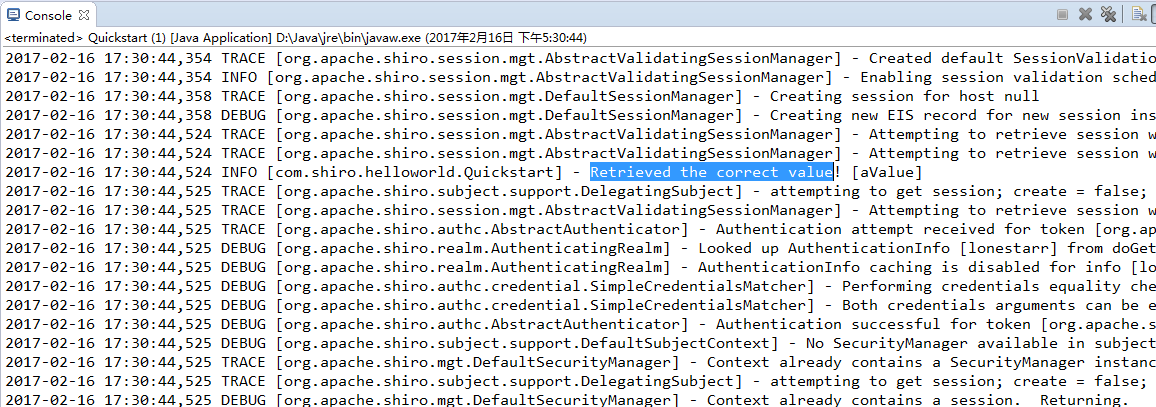
1 | // let's login the current user so we can check against roles and permissions: |
测试当前的用户是否已经被认证,即是否已经登录,调用 currentUser.isAuthenticated()方法,这里是没有登录的,
UsernamePasswordToken token = new UsernamePasswordToken("lonestarr", "vespa"); 把用户名和密码封装为UsernamePasswordToken对象,
调用 currentUser.login(token); 执行登录。
那么我们能够登录成功吗? – 取决于shiro.ini这个配置文件中是否配置了lonestarr这个用户,并且配置的密码是vespa。
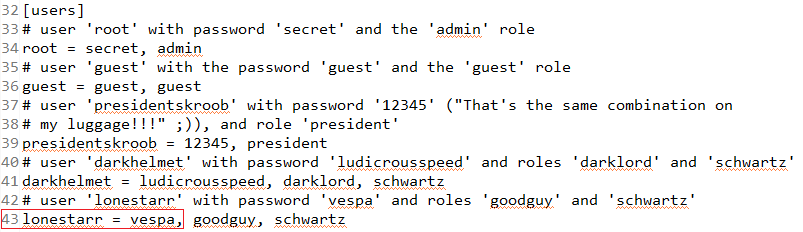
shiro.ini 里面有配置这个用户,用户密码也是一致的,所以可以成功登录。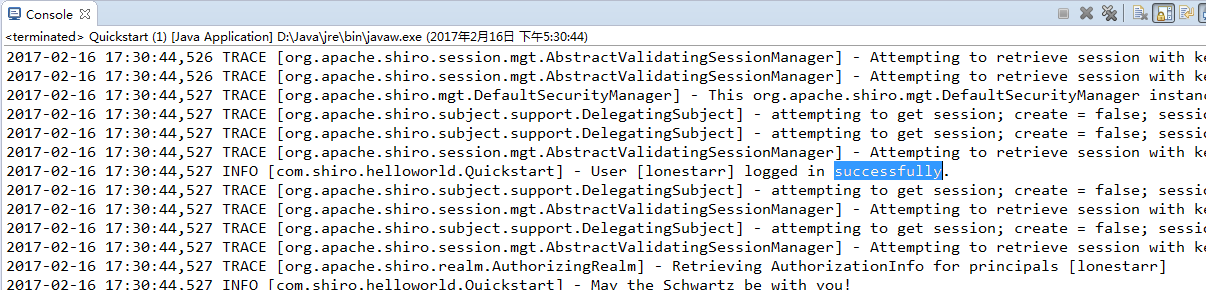
从代码中可以看出,可能出现的异常有:
- UnknownAccountException - 未知的账户,若没有指定的账户则shiro将会抛出这个异常;
- IncorrectCredentialsException - 错误的凭证异常,若账户存在,但密码不匹配,则shiro会抛出IncorrectCredentialsException异常;
- LockedAccountException - 用户被锁定异常;
- AuthenticationException - 所有认证时异常的父类
1 | //test a role: |
这段代码用于测试用户是否具有schwartz这个角色,查看shiro.ini配置文件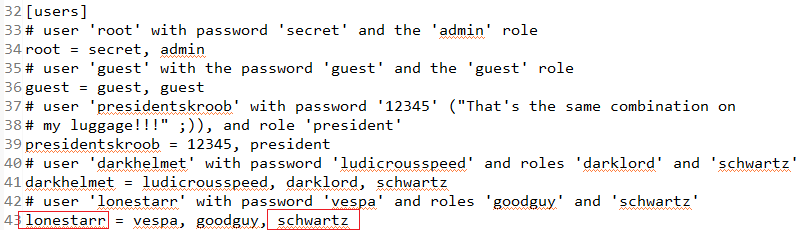
可以看到lonestarr这个用户时拥有schwartz这个角色的。
1 | //test a typed permission (not instance-level) |
这段代码用于测试用户是否具备某个行为。Role(角色)是一个抽象的概率,Rermission(权限)是具体的行为。查看shiro.ini配置文件: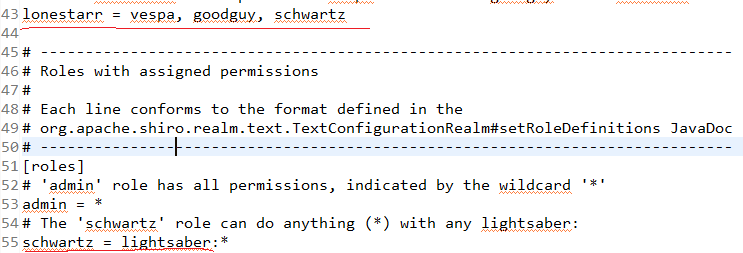
可以看见用户lonestarr拥有schwartz这个角色,schwartz拥有lightsaber的权限。 * 是通配符,表示匹配任意字符。
1 | //a (very powerful) Instance Level permission: |
同上,这段代码也是测试用户是否具备某个行为,不过这个比上面更具体(very powerful)。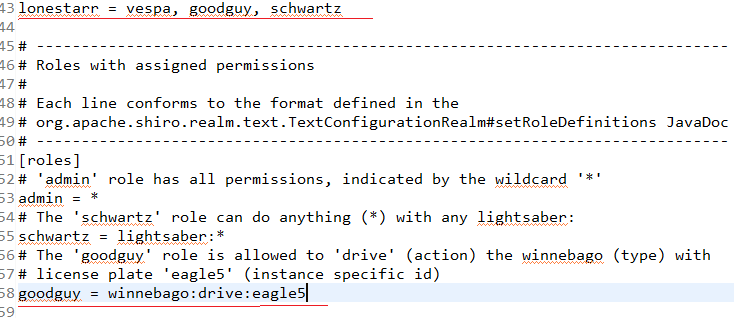
1 | # The 'goodguy' role is allowed to 'drive' (action) the winnebago (type) with |
winnebago - 表示的一个类型(type), drive - 表示一个具体的行为(action), eagle5 - 表示一个具体的Id。
比如字符串 user:delete:zhangsan, 表示具备删除张三这个用户的权限。
1 | //all done - log out! |
最后,执行登出,程序结束。